

Cart
0


Professional Car & Motorcycle Headlight Restoration Kit – Wet Sand + Polish + UV Protect – Removes Yellowing Scratches – Car / Motorcycle / ATV – 24 Set Options – $40 - set 4
$40.00

Professional Car & Motorcycle Headlight Restoration Kit – Wet Sand + Polish + UV Protect – Removes Yellowing Scratches – Car / Motorcycle / ATV – 24 Set Options – $40
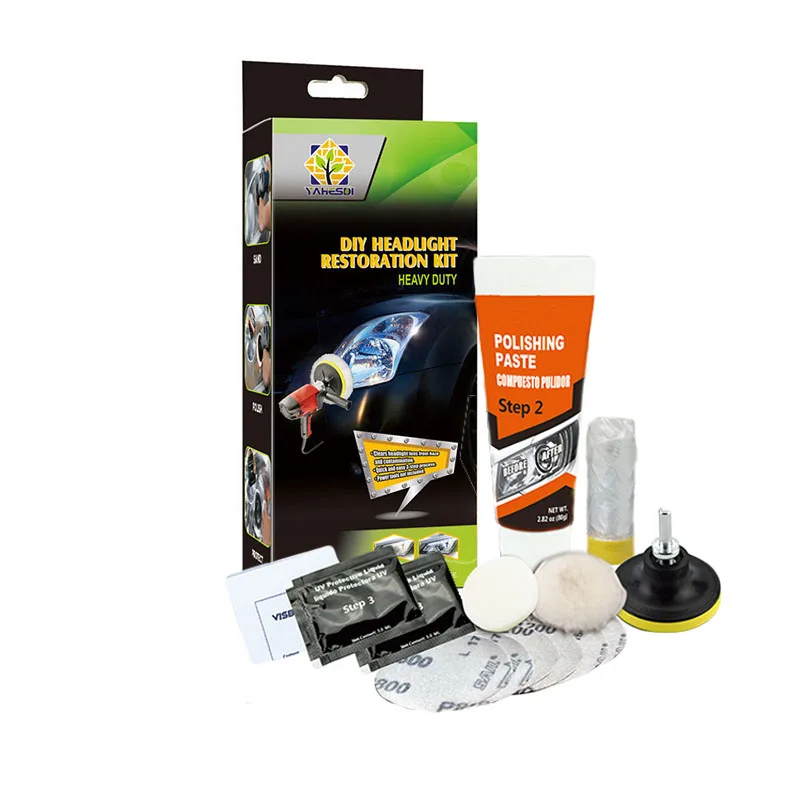
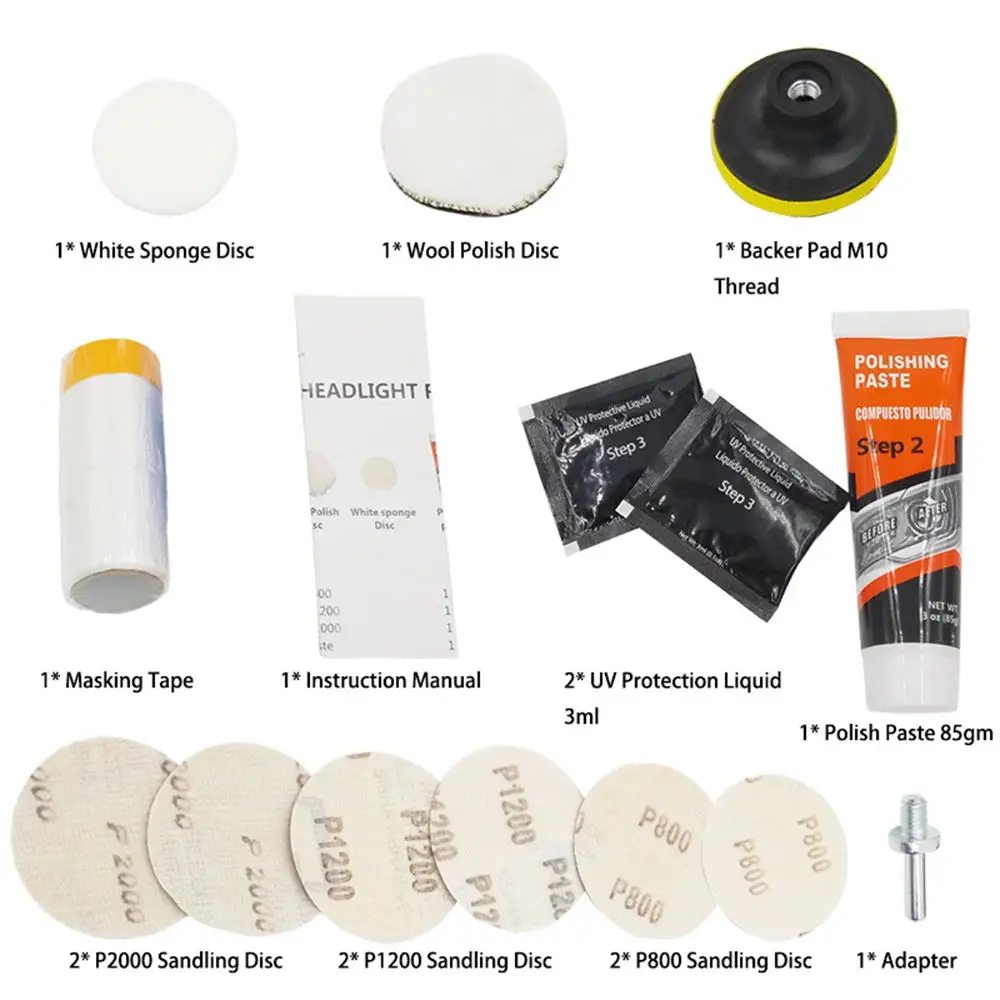
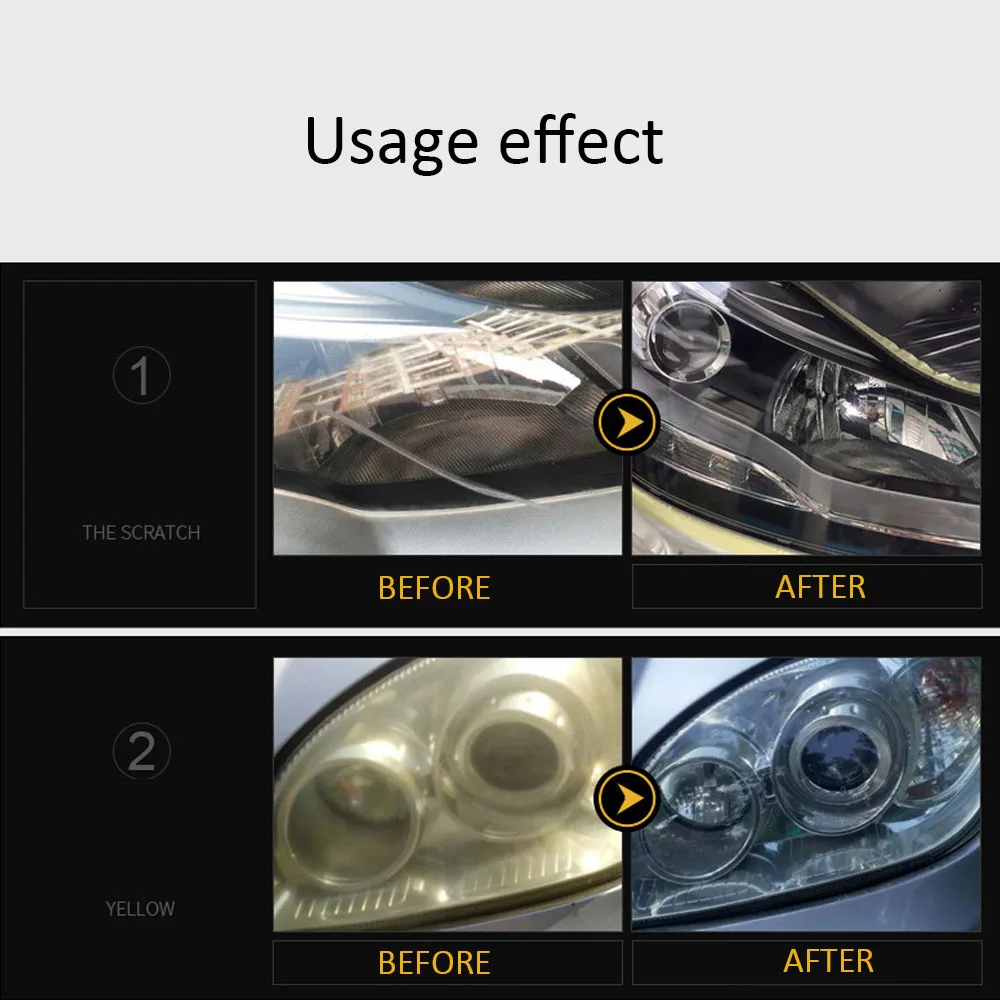
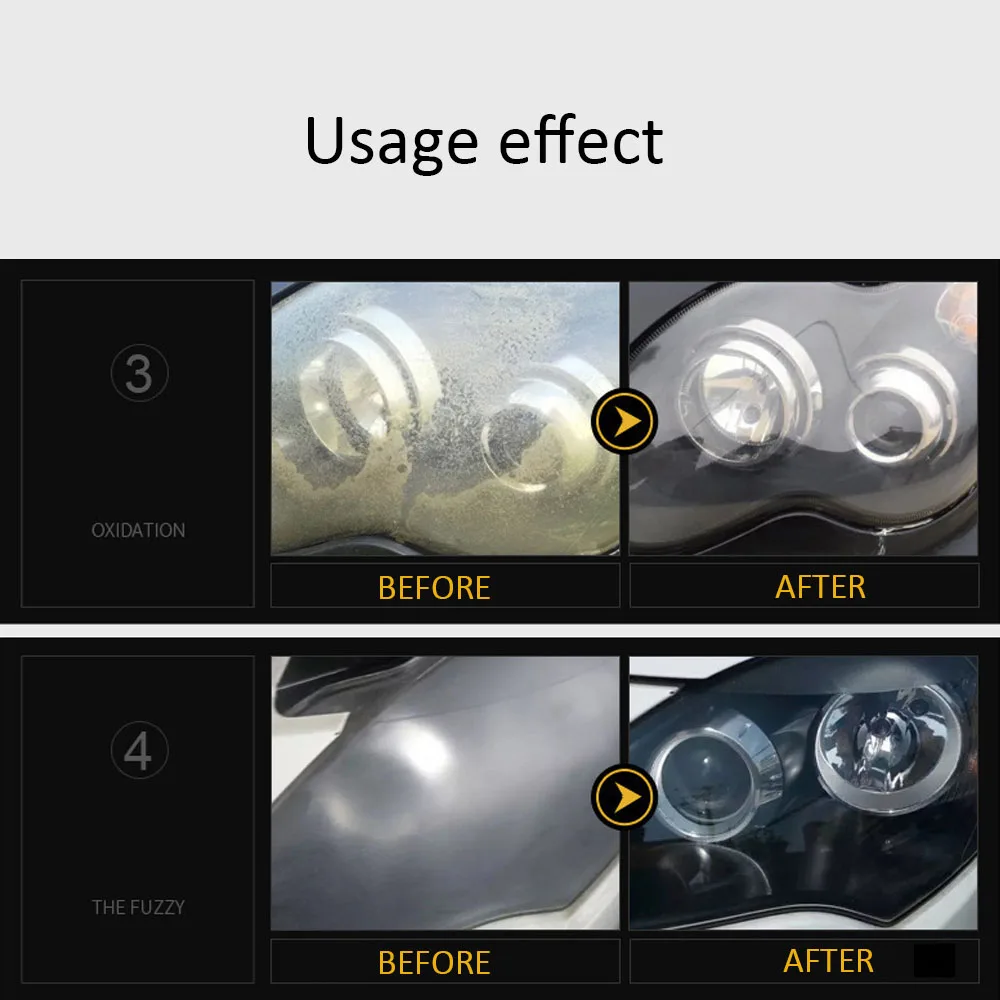
Complete 3-stage professional headlight restoration kit for cars, motorcycles, and ATVs – Krovor. Restores yellowed, scratched, hazy, and oxidized polycarbonate headlight lenses to near-original clarity. Full system includes wet sanding discs (3 grits: P800, P1200, P2000), polishing paste, UV protective coating liquid, and applicator pads. 24 set configurations available, all at $40. ~9,400–9,998 units per variant. Ships from China Mainland.
⚠️ Important Notice – Read Before Ordering
- Select your set configuration from the variant selector. 24 set options are available (set 1 through set 23, plus a standalone polishing paste option), each containing a different combination or quantity of restoration components at the same $40 price. Check the product images for each variant’s specific contents before ordering.
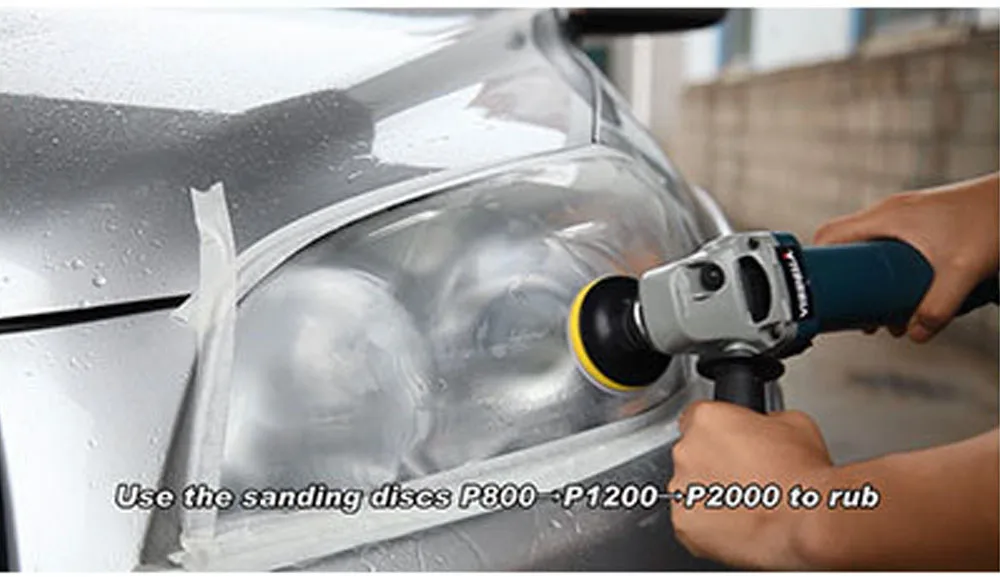
- Grit sequence is critical – must be followed in order: P800 → P1200 → P2000. Skipping grits or using them out of order will result in restoration failure. Do not skip steps.
- The UV protection step (Step 3) must be performed indoors in a dry place, out of direct sunlight. Allow 1–2 hours for the protective liquid to cure. Performing this step in direct sunlight or outdoors will affect the final clarity and brightness of the headlight.
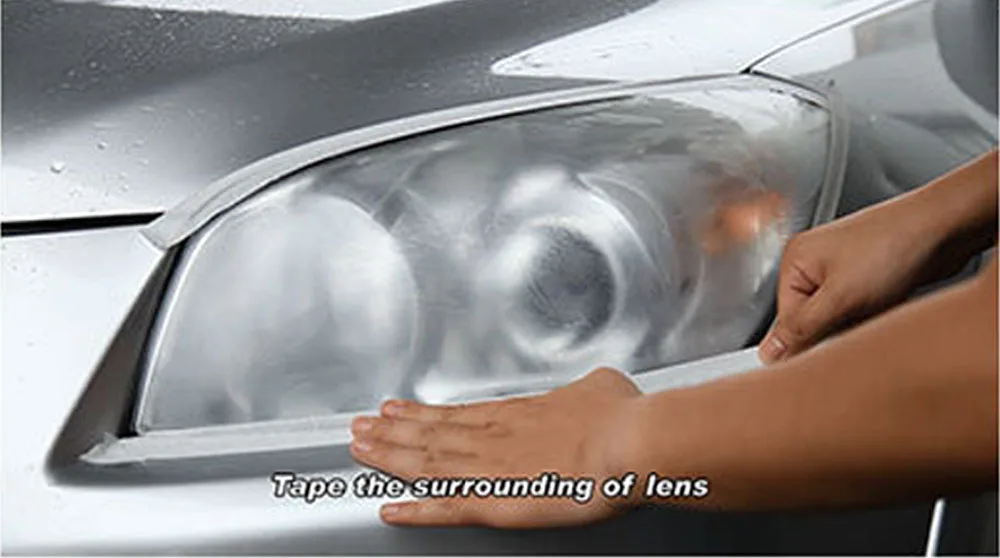
- Masking tape is required but not included. Mask the surrounding paintwork and trim around the headlight lens before sanding to protect the vehicle’s paint.
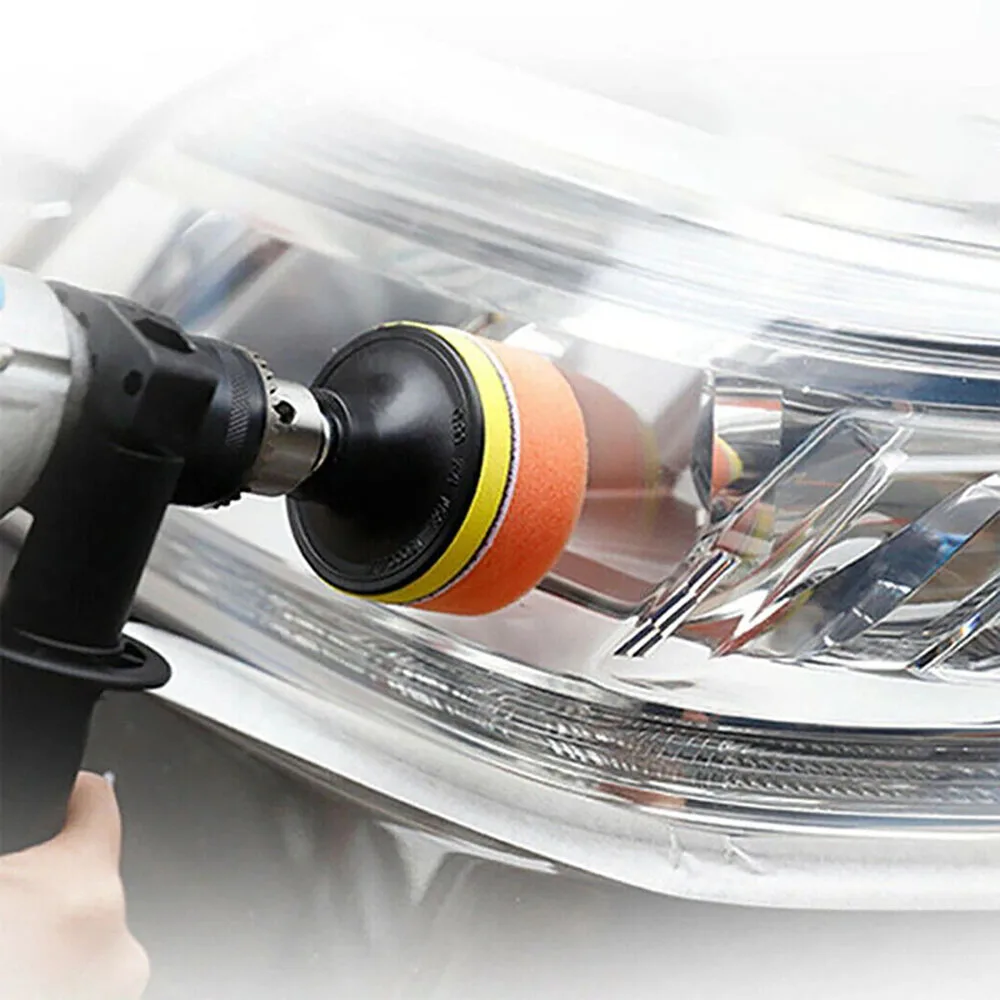
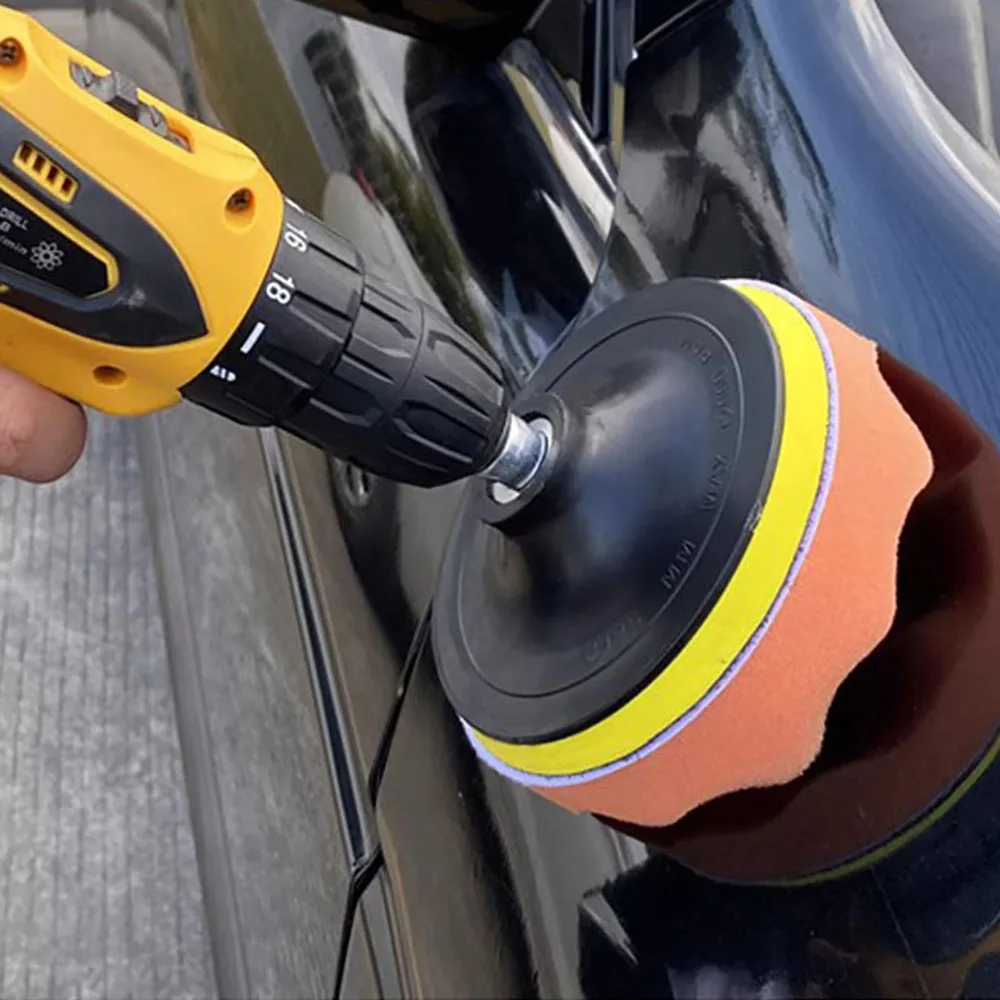
- For best polishing results use an electric buffer or DA polisher. If polishing by hand, complete a minimum of 200 circular clockwise strokes to achieve full clarity restoration.
Complete 3-Stage Restoration System
- Stage 1 – Wet Sand (P800 → P1200 → P2000): Wet the sanding disc and attach to the backer pad. Sand progressively through three grits from coarsest to finest to remove yellowing, oxidation, and deep surface scratches. Wet sanding prevents heat build-up and keeps the lens surface cool.
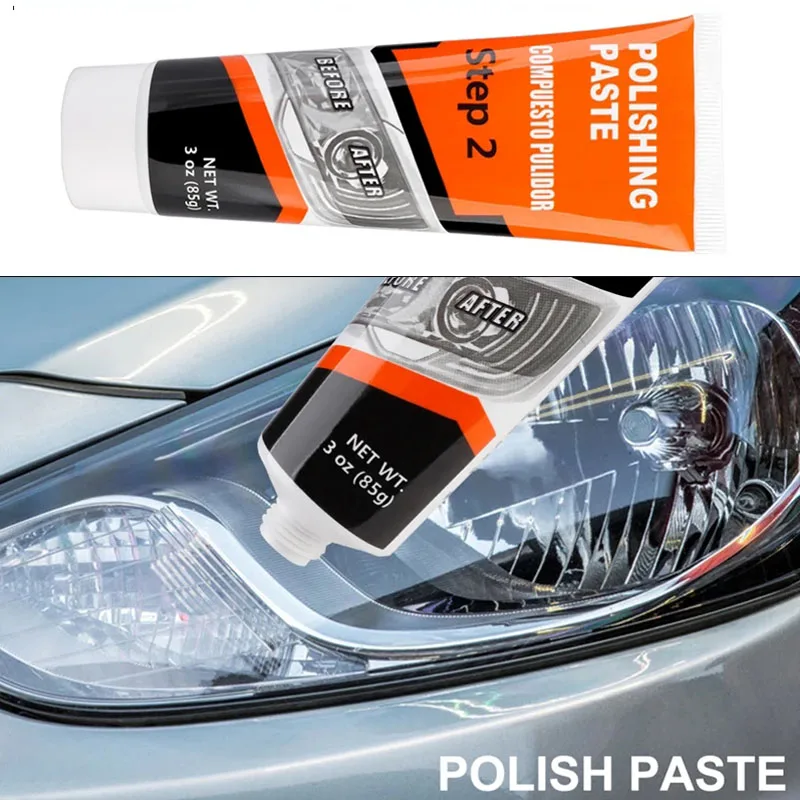
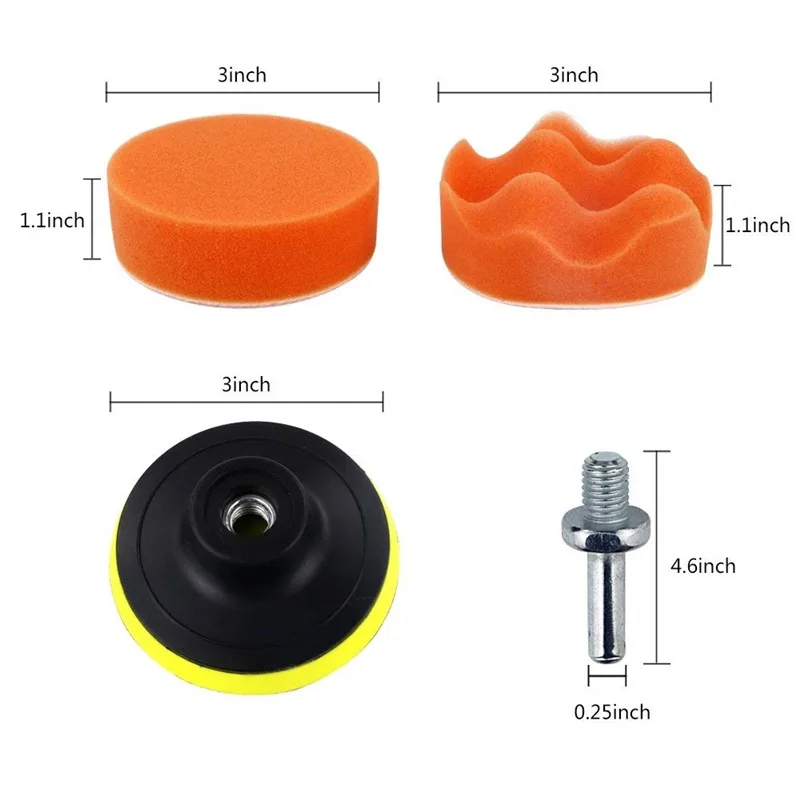
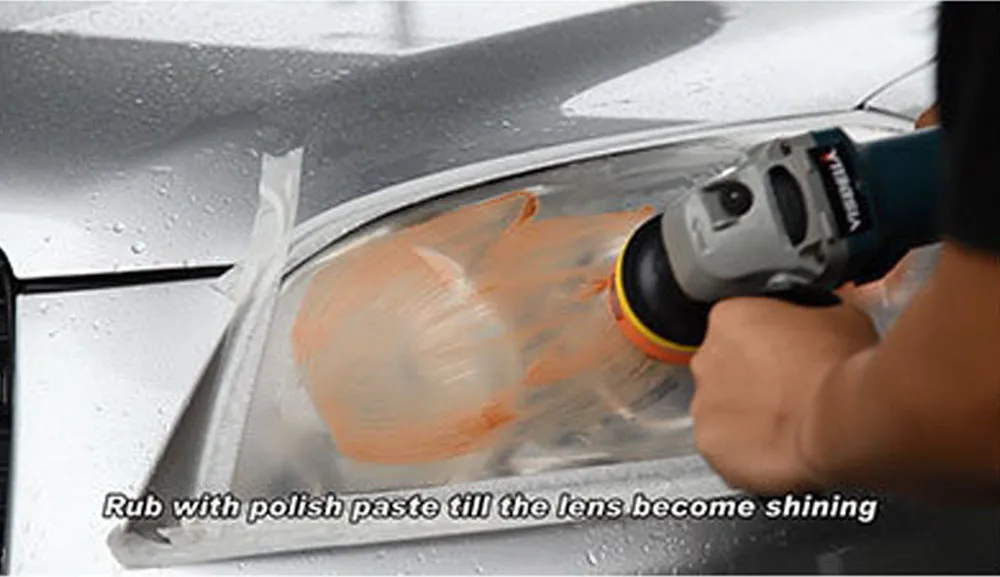
- Stage 2 – Polish: Attach the orange sponge disc to the backer pad. Apply polishing paste and polish the lens in circular motions until optical clarity and shine are fully restored. Use an electric buffer or DA polisher for best results, or complete a minimum of 200 hand strokes.
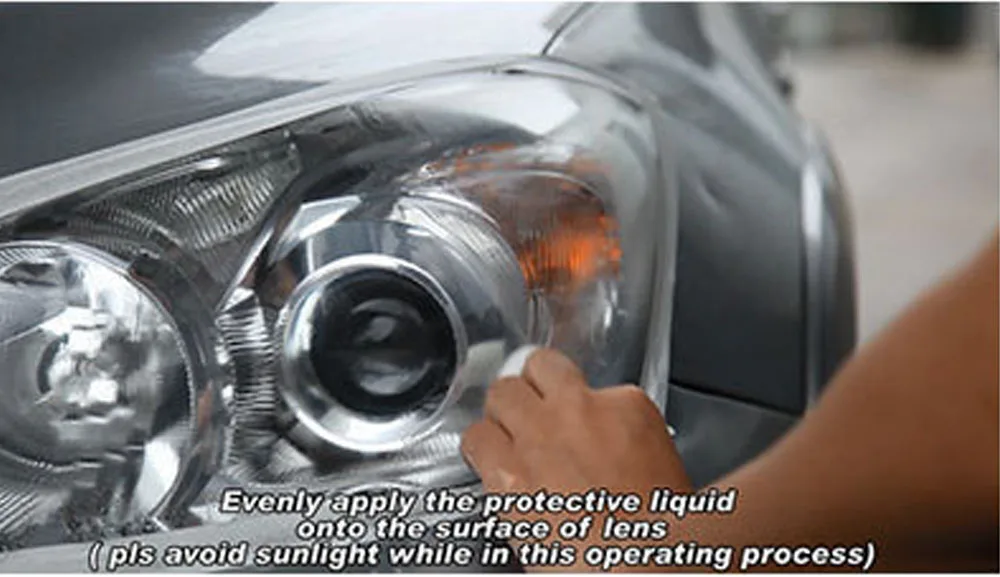
- Stage 3 – UV Protect: Clean and dry the lens completely. Using the white sponge disc, evenly apply the UV protective liquid to the lens surface. Allow 10–15 minutes for the liquid to self-level and flow evenly. Perform this step indoors in a dry, shaded location. Allow 1–2 hours curing time before exposing to weather.
Key Features
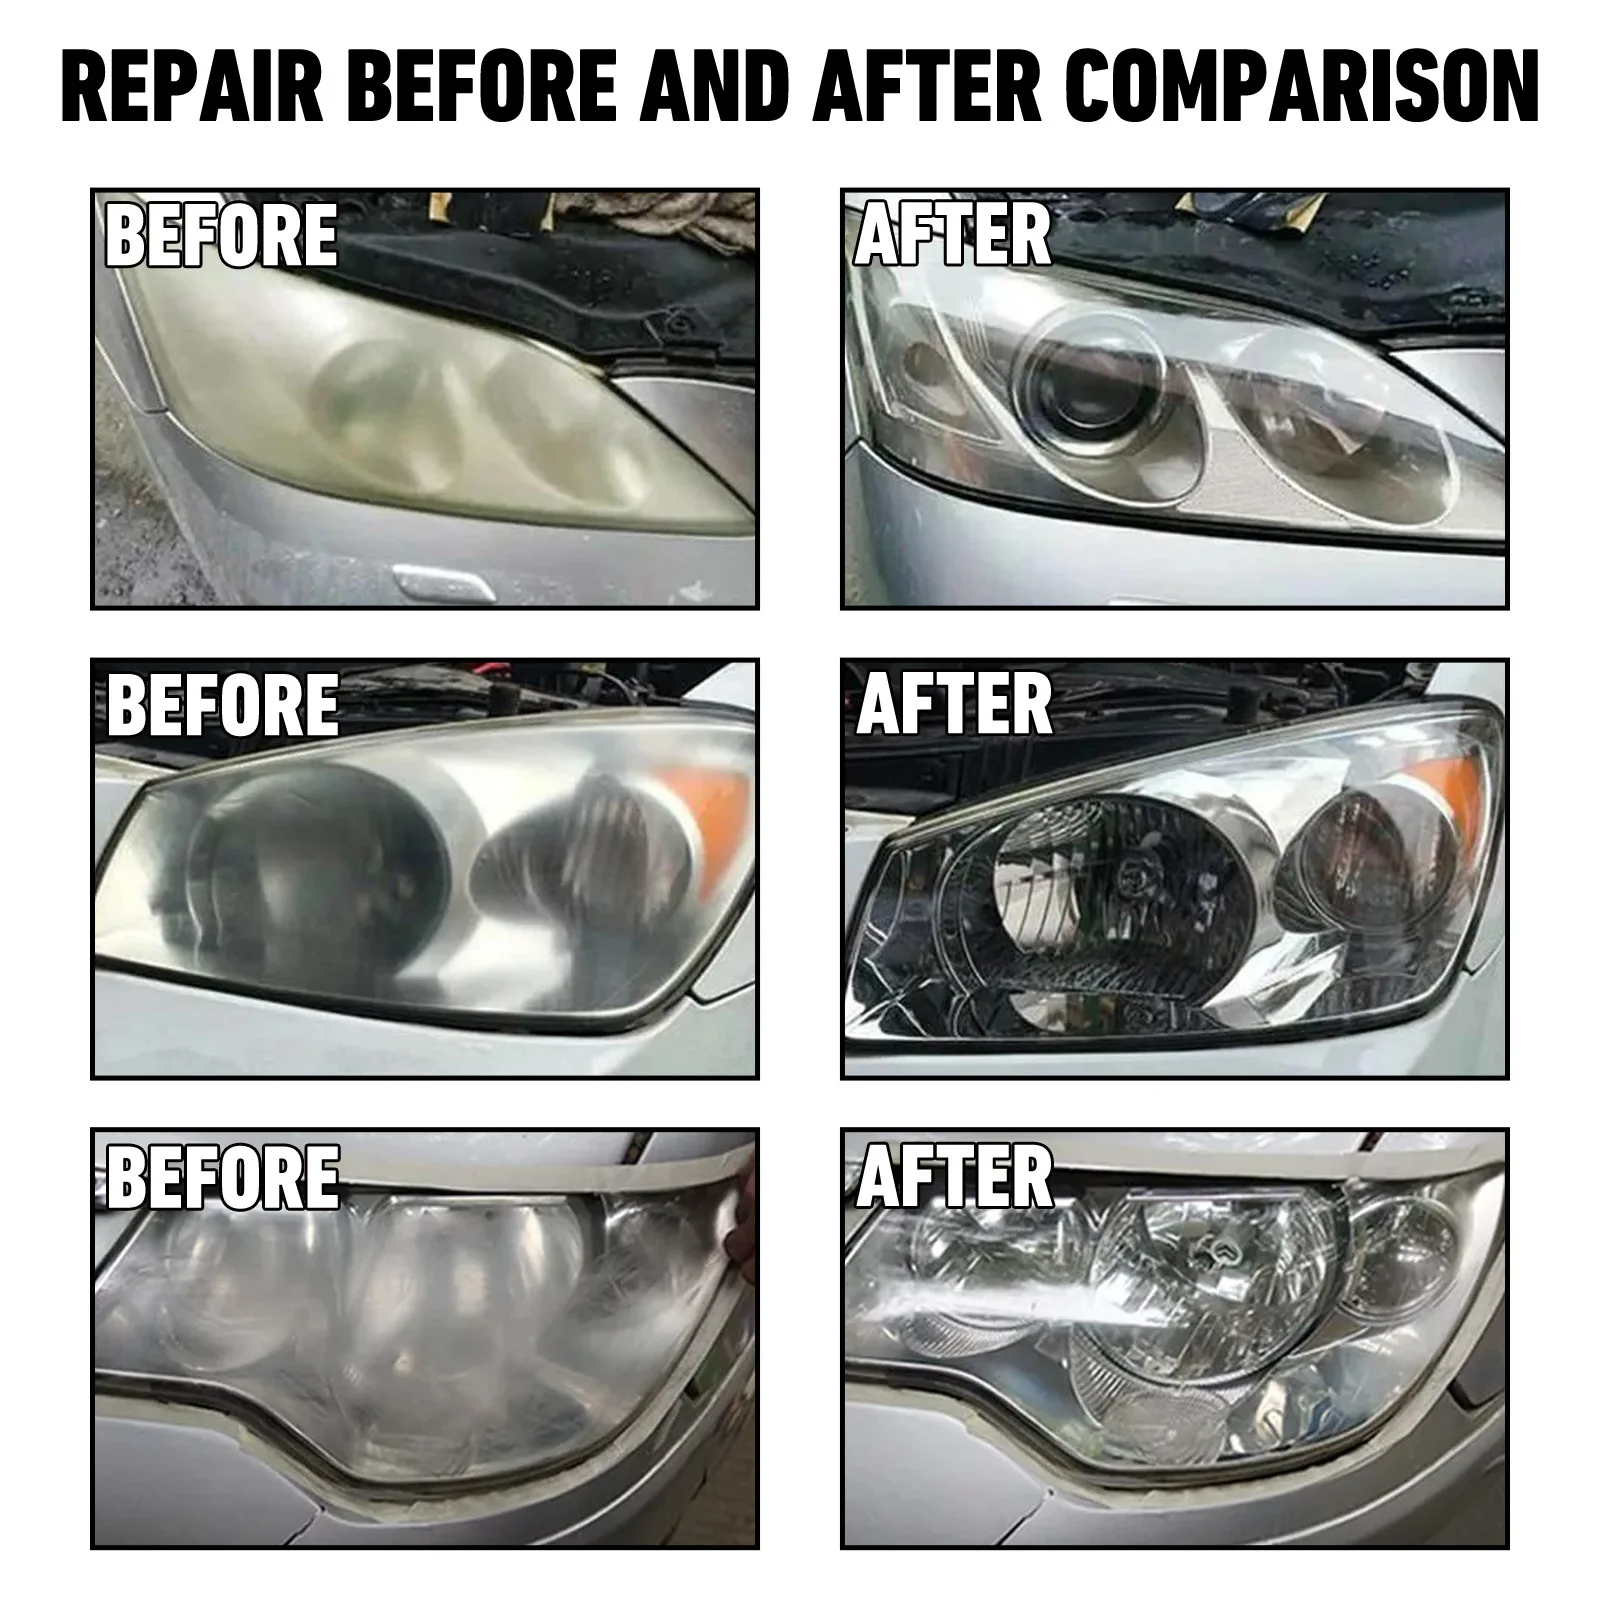
- Professional 3-Stage System: Complete sanding-to-protection sequence in one kit. Covers the full headlight restoration process from heavy oxidation removal through to UV-protected clarity.
- Long-Lasting Results with UV Protection: The included UV protective coating bonds to the restored polycarbonate surface and slows re-yellowing, extending the life of the restoration significantly compared to polish-only treatments.
- Compatible with Cars, Motorcycles, and ATVs: Suitable for all polycarbonate headlight lenses, fog light covers, indicator lenses, and taillights on cars, motorcycles, scooters, and ATVs.
- Restores Headlight Light Output and Night Safety: Yellowed and hazy headlights significantly reduce effective beam output. Restoring lens clarity improves night driving visibility and road safety.
- Professional Results at Home: Kit includes all items necessary to perform the complete restoration task. Only masking tape is required separately.
How to Use – Step by Step
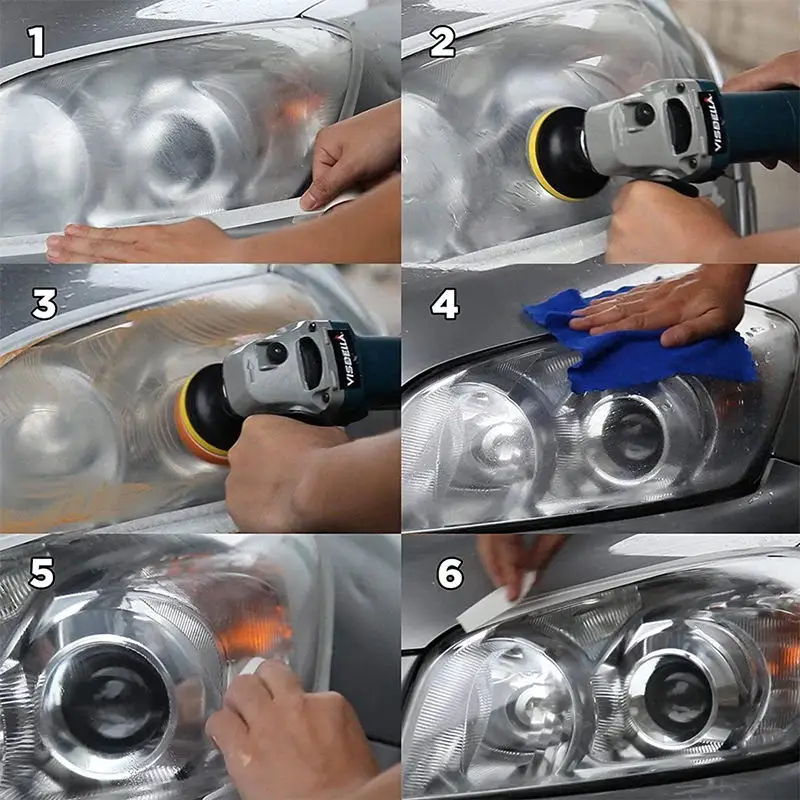
- Prepare: Clean the headlight lens with water. Mask off the surrounding perimeter of the lens with masking tape to protect the vehicle paint. (Masking tape not included.)
- Sand – Stage 1 (P800): Wet the P800 sanding disc and attach to the backer pad. Sand the lens in firm strokes to remove yellowing and oxidation.
- Sand – Stage 2 (P1200): Switch to the P1200 disc (wet). Sand to refine and remove P800 scratch marks.
- Sand – Stage 3 (P2000): Switch to the P2000 disc (wet). Sand to produce a uniformly smooth, haze-free surface ready for polishing. Do not skip or reorder grits.
- Polish – Stage 4: Attach the orange sponge disc to the backer pad. Apply polishing paste and buff in circular motions until clarity is fully restored. Use an electric buffer for best results, or a minimum of 200 hand strokes.
- Dry – Stage 5: Clean the lens and ensure it is completely dry before applying the protective coating.
- Protect – Stage 6: Using the white sponge disc, evenly apply the UV protective liquid. Allow 10–15 minutes to self-level. Perform indoors, out of direct sunlight. Allow 1–2 hours curing time.
Specifications
- System Stages: Wet sand (P800, P1200, P2000) + Polish + UV protect
- Included: Sanding discs (3 grits), backer pad, polishing paste, UV protective liquid, sponge applicator pads (orange + white)
- Not Included: Masking tape, electric buffer/polisher (recommended)
- Compatible Vehicles: Cars, motorcycles, scooters, ATVs
- Compatible Surfaces: Polycarbonate headlight lenses, fog lights, indicator lenses, taillights
- Set Options: 24 configurations at $40 each
- Item Weight: 255g
- Storage: Store in a cool, dry place
- Origin: Mainland China
- Ships From: China Mainland
- Condition: 100% Brand New

Frequently Aksed Questions
How do I make a purchase?
Simply browse our products or use the Shop Your Ride feature to find compatible parts. Add your desired items to the cart, proceed to checkout, enter your shipping details, choose a payment method, and place your order.
What if I receive a damaged or incorrect item?
Please contact our customer support within 7 days of receiving your order. We'll arrange a replacement or refund as quickly as possible.
How can I contact customer support?
You can reach us through our Contact page, email, or live chat during business hours. Our team is always happy to help with any questions or concerns.